
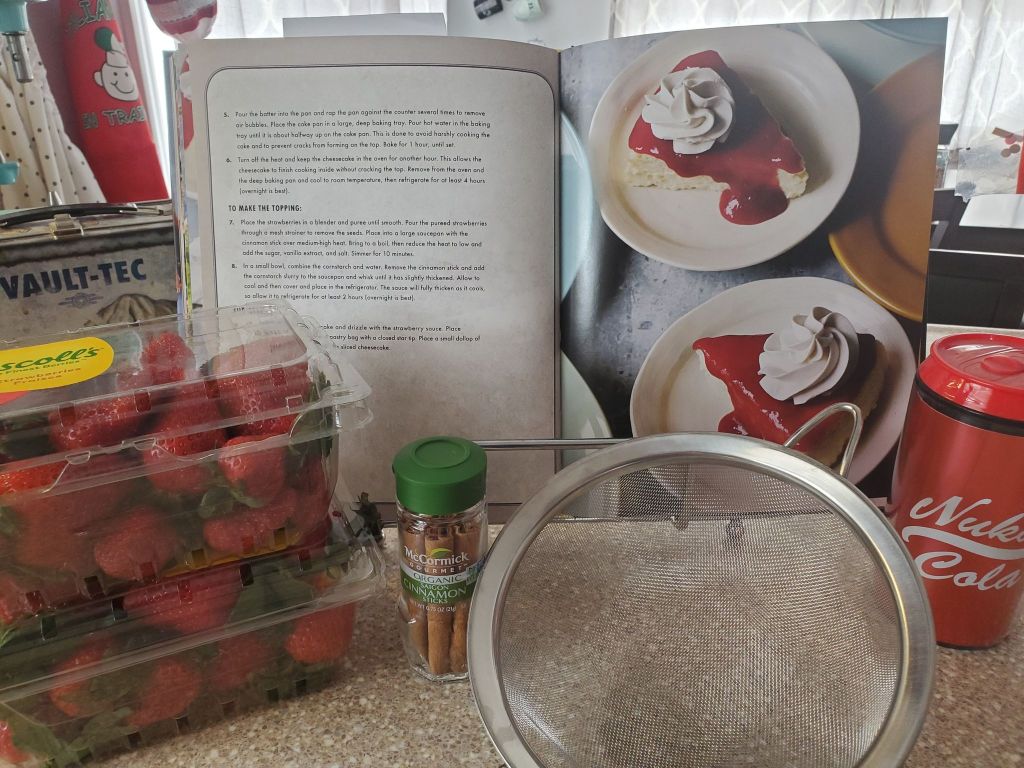
This month, I decided to crack open The Vault Dweller’s Official Cookbook by Victoria Rosenthal.
My husband is a huge fan of the entire Fallout franchise. So, in celebration of Valentines Day, I wanted to make him some special dishes based on the video games!
This is one of my favorite nerdy cookbooks for one big reason. Every single recipe is accompanied by at least one picture. The book is chalk full of gorgeous photography.
If you don’t already own this one, I would highly recommend it!

In Fallout, Perfectly Preserved Pie can be found in any Port-a-Diner and will imbue you with a +4 luck bonus for four hours.
Who couldn’t use a little of that?
This recipe is listed as “difficulty: hard”. I think this is because there are a couple of preparation techniques that are uncommon, meaning they may be things you haven’t done before. But have no fear! We’ve got this!
Also, this recipe takes a decent amount of prep time. You are going to need to do the bulk of the work the day before you plan on serving it. I have broken the recipe down into the 3 main parts:
- The pie
- The strawberry topping
- The icing
The Pie
The pie is listed as “cheesecake” in the recipe, but it has a much more fluffy, light consistency than most cheesecakes I have had. The other two parts are very rich, so it was actually a welcome surprise, as the pie and toppings complimented each other nicely!
You are going to need a springform pan for this recipe. This is a cake pan that has a removable “wall”, allowing you to remove the cake once it is set.
This is what you want:

Ingredients:

- 1/4 cup heavy cream
- 1/2 vanilla bean, split and scraped (see instructions below)
- 1 pound cream cheese, at room temperature.
- 3/4 cup sugar
- 3 eggs
- 1/2 cup sour cream
- pinch of salt
- 2 tablespoons cornstarch
- 1 tablespoon vanilla extract
Instructions:
- Take the cream cheese out of the fridge and put on the counter until it reaches room temperature.
- Preheat oven to 275
- Scrape the vanilla bean. In order to do this, you are going to take the bean and split it down the middle length wise with a sharp knife. Then, with the tip of the knife, carefully scrape out all of the brown “gunk” out of the bean.
- Combine the heavy cream and the scraped vanilla bean in a small bowl and set aside. You will start to see small flakes of black in your cream, similar to French Vanilla icecream!
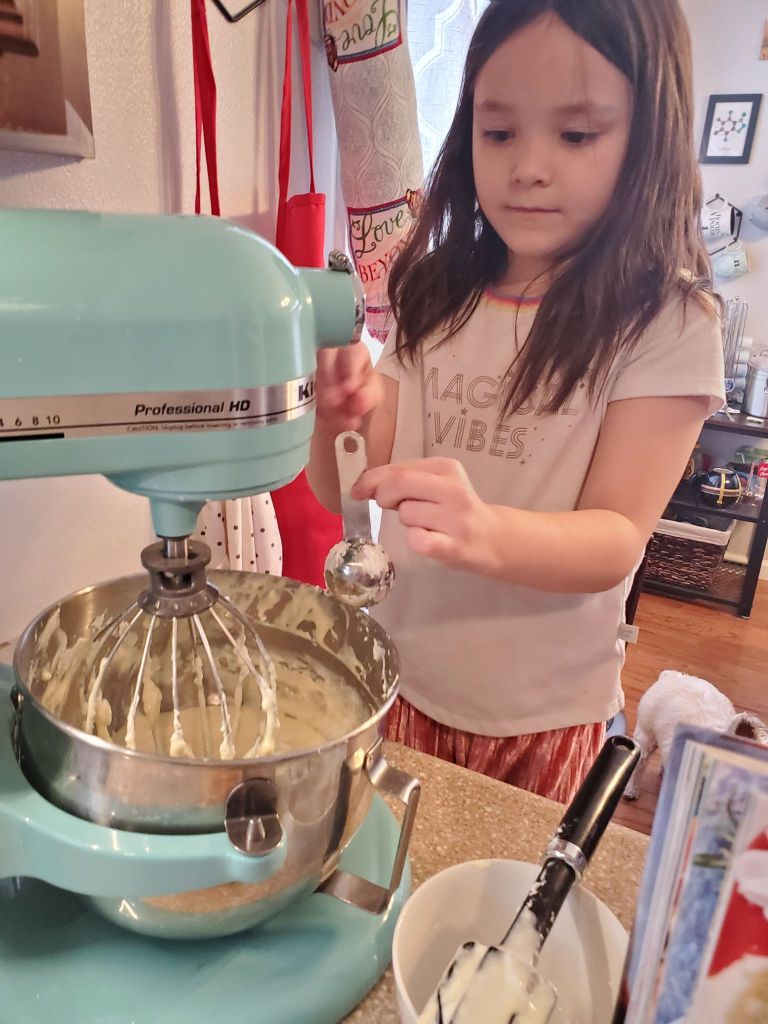
- In a standing mixer fitted with a whisk attachment, whip the cream cheese until smooth. You will need to scrape down the sides throughout to make sure all of the cream cheese is completely smooth.
- Add the sugar and mix well.
- Add the eggs, one at a time.
- Remove the vanilla bean from the heavy cream.
- Pour the heavy cream, sour cream, salt, cornstarch, and vanilla extract into the cream cheese mixture. Mix well.
- Wrap the outside of a 9-inch springform pan in aluminum foil. This will prevent any water from entering the pan. Make sure the foil comes up the sides at least half way all the way around.
- Butter the inside of the pan. My daughter did this by taking a stick of butter and holding it while wearing a plastic bag as a glove. She thought it was very fun!
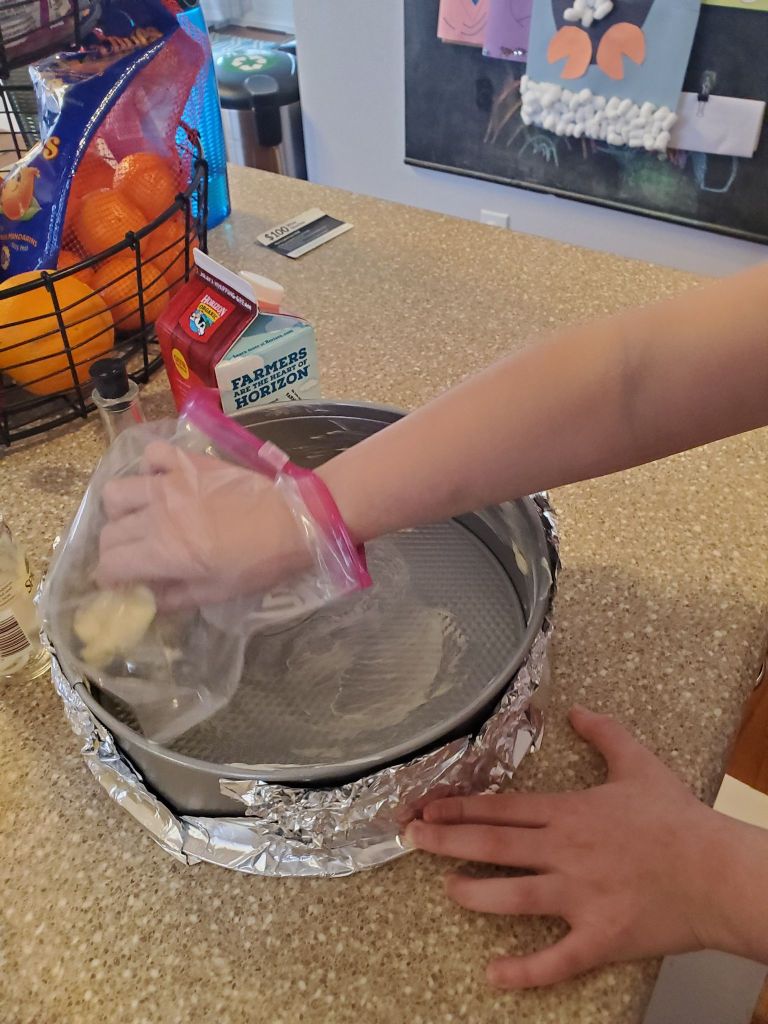
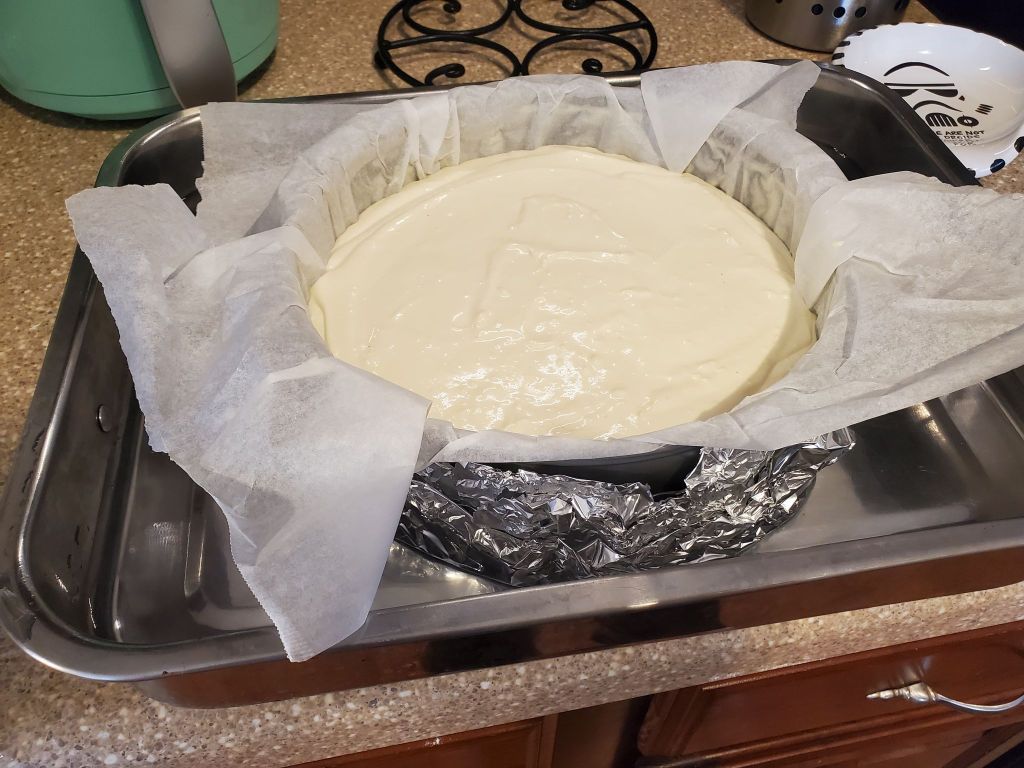
- Carefully line the pan with parchment paper. This started to feel like overkill, but all of these steps are to keep the cake from sticking, making removing it later much easier. It did seem to work!
- Pour the batter into the pan and rap the pan against the counter several times to remove air bubbles.
- Place the cake pan in a large, deep baking tray (I used my lasagna pan).
- Pour hot water into the baking tray until it is about halfway up the cake pan. This is done to avoid harshly cooking the cake, and to prevent cracks from forming on the top.
If you have made cheesecake before, you know that these are the two main headaches about them. Either the top cooks too quickly and becomes “chewy”, or you end up with a large crack in the top. By following these instructions, I was able to avoid both of those issues!
- Bake for 1 hour, until set.
- Turn off the heat and keep the cheesecake in the oven for another hour. This is another trick to avoid the dreaded crack in the top!
- Remove from the oven and the deep baking pan and cool to room temperature on the counter.
- Refrigerate for at least 4 hours (but overnight is best).
Yay! Cake is done!!
The Topping
The strawberry topping is what really makes this dessert look like the “Perfectly Preserved Pie” that you find in the video game!
It doesn’t require a lot of ingredients, just the ability to take your time.
You will need a fine strainer like this one if you don’t have one already:

Ingredients:
- 2 pounds strawberries, hulled (see instructions below)
- 1 cinnamon stick
- 3/4 cup sugar
- 1 tablespoon vanilla extract
- Pinch of salt
- 2 tablespoons cornstarch
- 3 tablespoons water
Instructions:
- Hull the strawberries. I find it easiest to use a plastic straw if you have an extra one lying around. Remove the leafy green top, then stick the straw through the bottom of the strawberry and out the top. Remove the white “hulled” section from your straw and move on to the next! Its so easy, a 6 year old can do it!

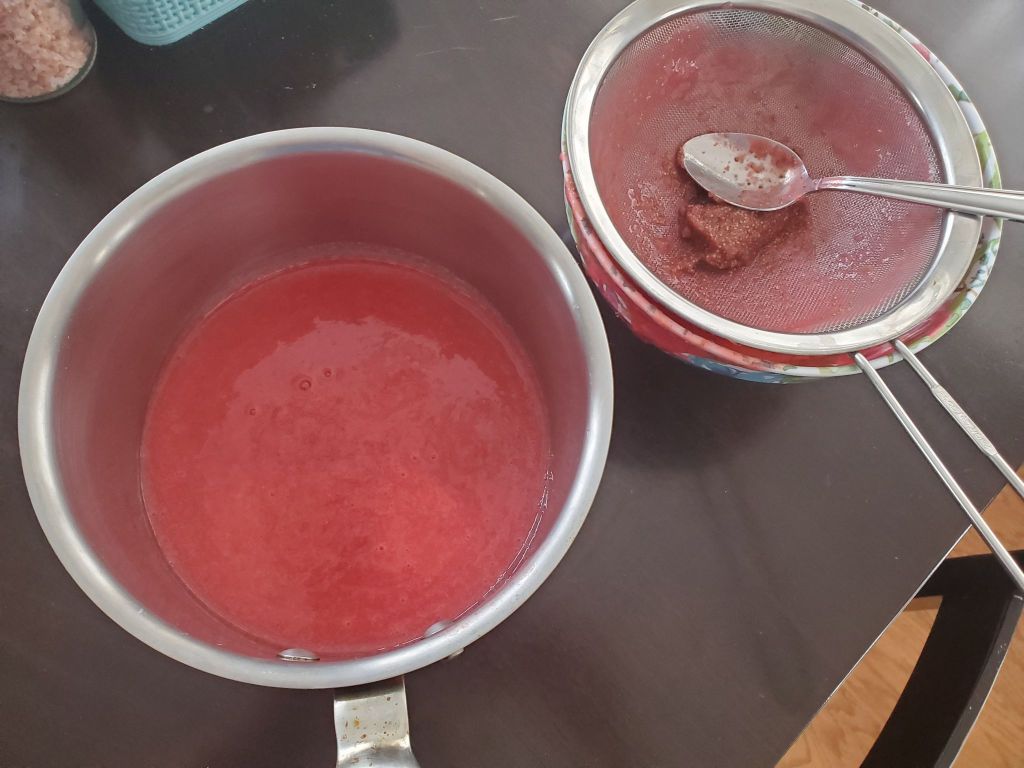
- Place the strawberries in a blender and puree until smooth. My food processor has a “puree” setting and that seemed to work well.
- Pour the pureed strawberries through a mesh strainer to remove the seeds. This part takes the most patience. I used a spoon to help move the seeds out of the way and stir the mixture to help it go down. I ended up with a strawberry seed paste in my strainer, and a gorgeous strawberry sauce in my pan!
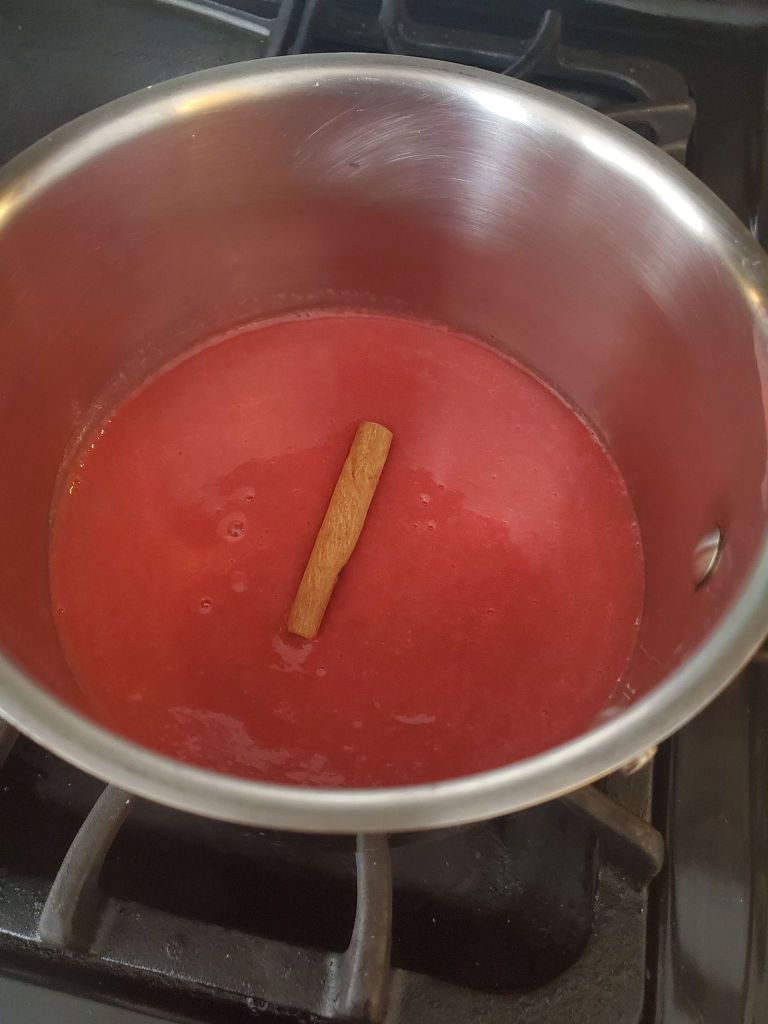
- Place a large cinnamon stick into the pan with the strawberries.
- Bring to a boil (this smells amazing!)
- Reduce the heat to low and add the sugar, vanilla extract, and salt.
- Simmer for 10 minutes.
- In a small bowl, combine the cornstarch and water. This dissolves the cornstarch so that you don’t end up with chunks of it in your topping.
- Remove the cinnamon stick from the strawberries and add the cornstarch slurry to the saucepan
- Whisk until it has slightly thickened.
- Allow to cool and then cover and place in the refrigerator.
- The sauce will fully thicken as it cools, so allow it to refrigerate for at least 2 hours (overnight is best)
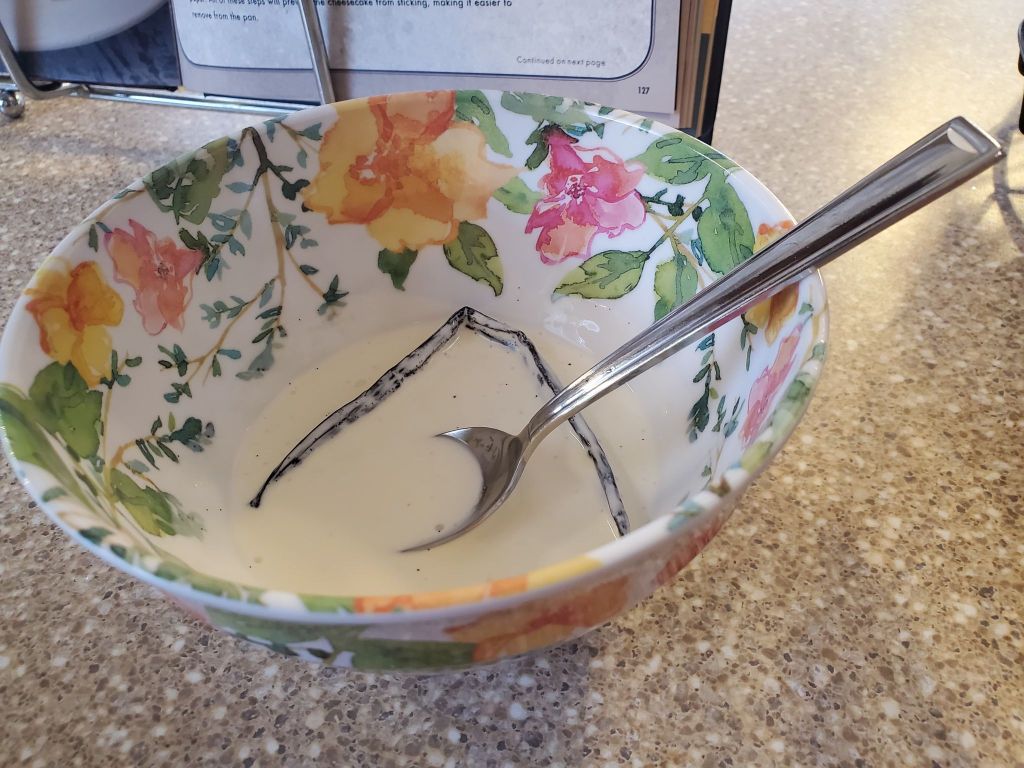
My strawberry topping came out slightly thicker than what is seen in the cookbook’s photograph, but it was delicious! It would also be amazing on icecream!
You’re almost there!
Caramel Buttercream Frosting
Its tomorrow now!
Okay, so if you are feeling totally done with cooking, you could probably just use store bought buttercream icing. However, I think this stuff is worth the extra 15 minutes or so of work. It is amazing!
Also, I was making this for Valentines Day, so why not go all out?!
The recipe calls for a pastry bag to make the dollop of icing look extra cute, but I didn’t have the right size attachment. So, just a spoon will get the job done too!
Ingredients:
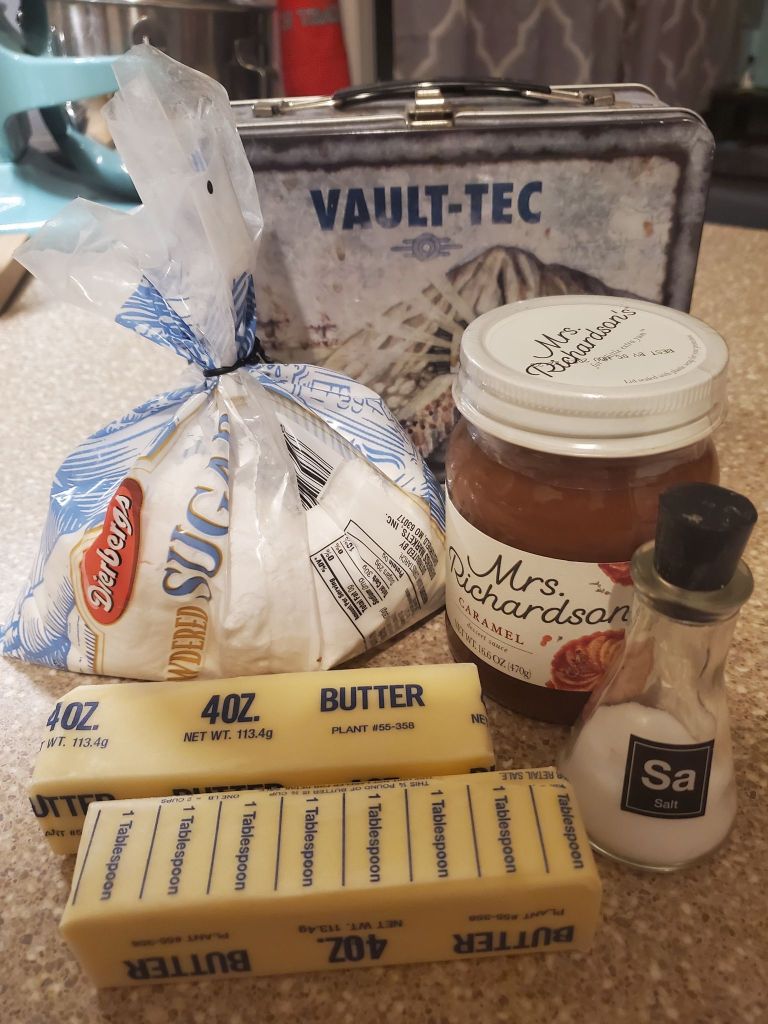
- 1 cup (2 sticks) unsalted butter, at room temperature
- 1/2 cup caramel sauce
- 1 teaspoon salt
- 2 to 4 cups confectioners’ sugar (I used 3, but I would recommend closer to 4)
Instructions:
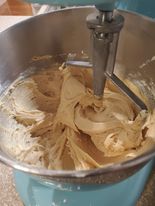
- In a standing mixer fitted with a paddle attachment, whip the butter until smooth.
- Add the salt and caramel and whisk until combined. Add the confectioners’ sugar 1 cup at a time.
- Continue to add confectioners’ sugar one cup at a time. I did 3 cups, but I think 4 would have given it more of the consistency you see in the book. Mine was very thick, creamy, and rich!
To serve, you will slice a piece of cake and drizzle with the strawberry sauce. Finally, add a small dollop of caramel buttercream icing on top!
Voila!

This fluffy, crust free pie with strawberry sauce is as delicious as it is beautiful! I look forward to using it this summer when these lighter desserts are especially nice!
Impress the Vault Dweller in your life, and have a great Valentines Day!

One thought on “Fallout’s Perfectly Preserved Pie Recipe”